Quick Start Guide - Club President
Everything a club president needs to know to get started with Viratrip
1. Create your account
Sign up
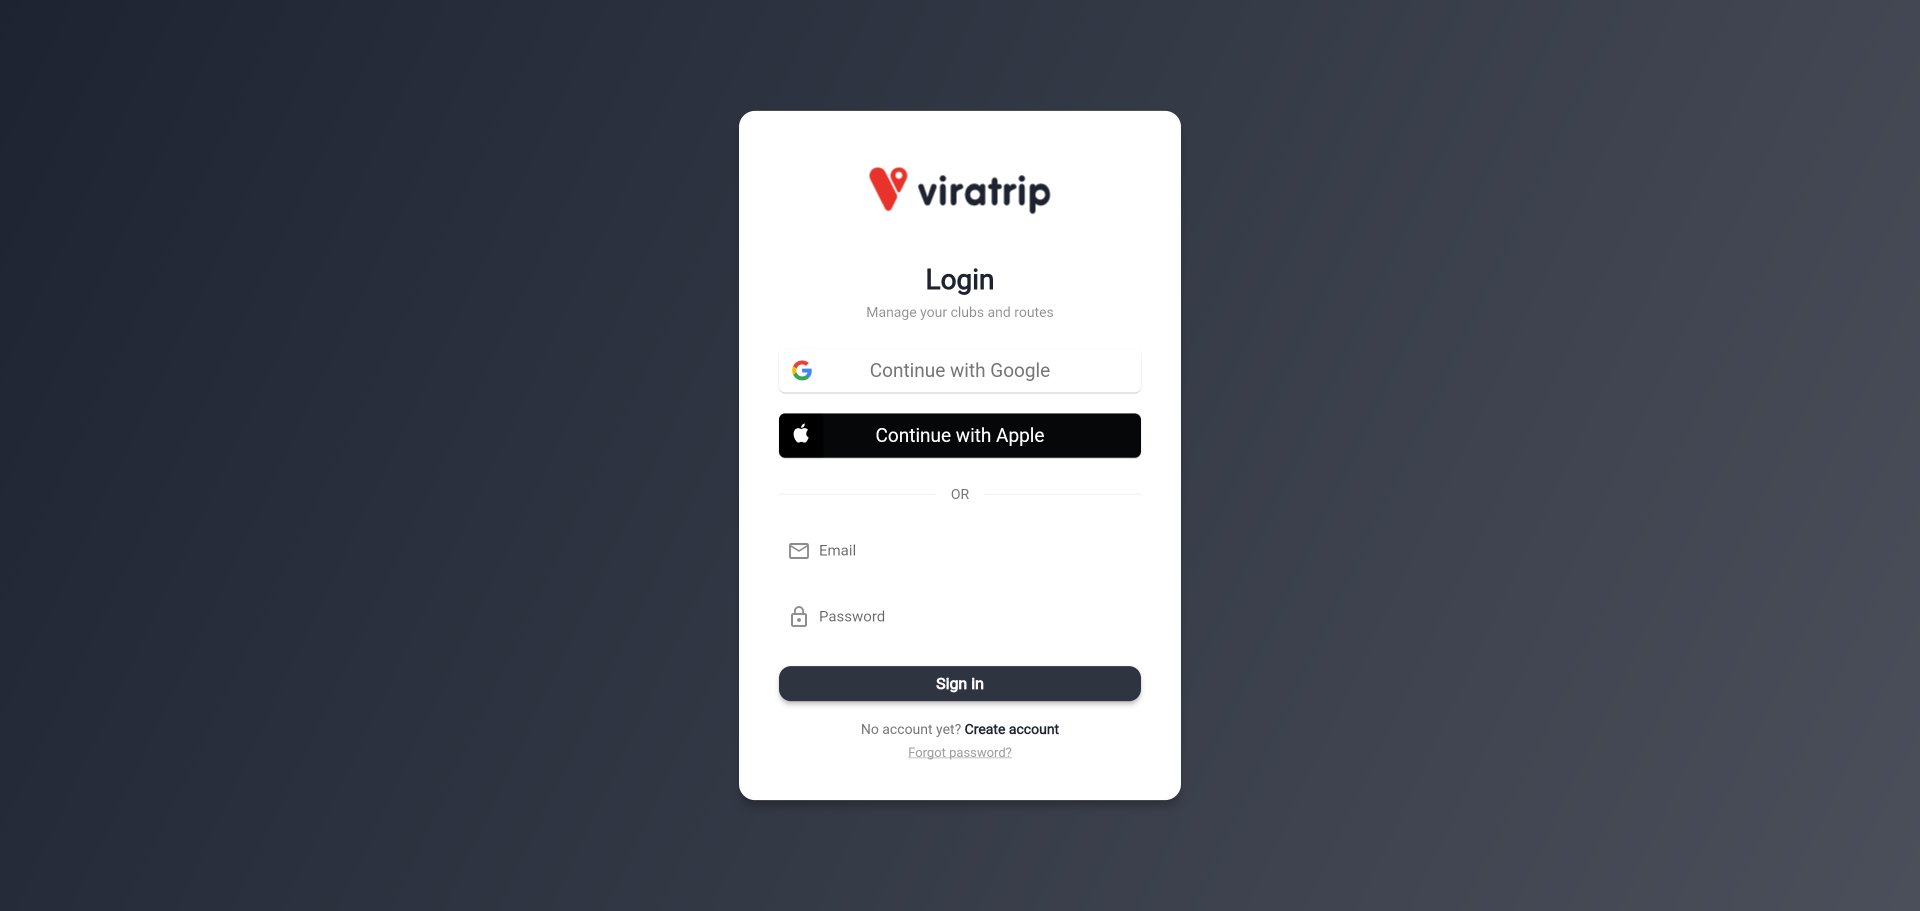
- Open the Viratrip app or go to app.viratrip.com
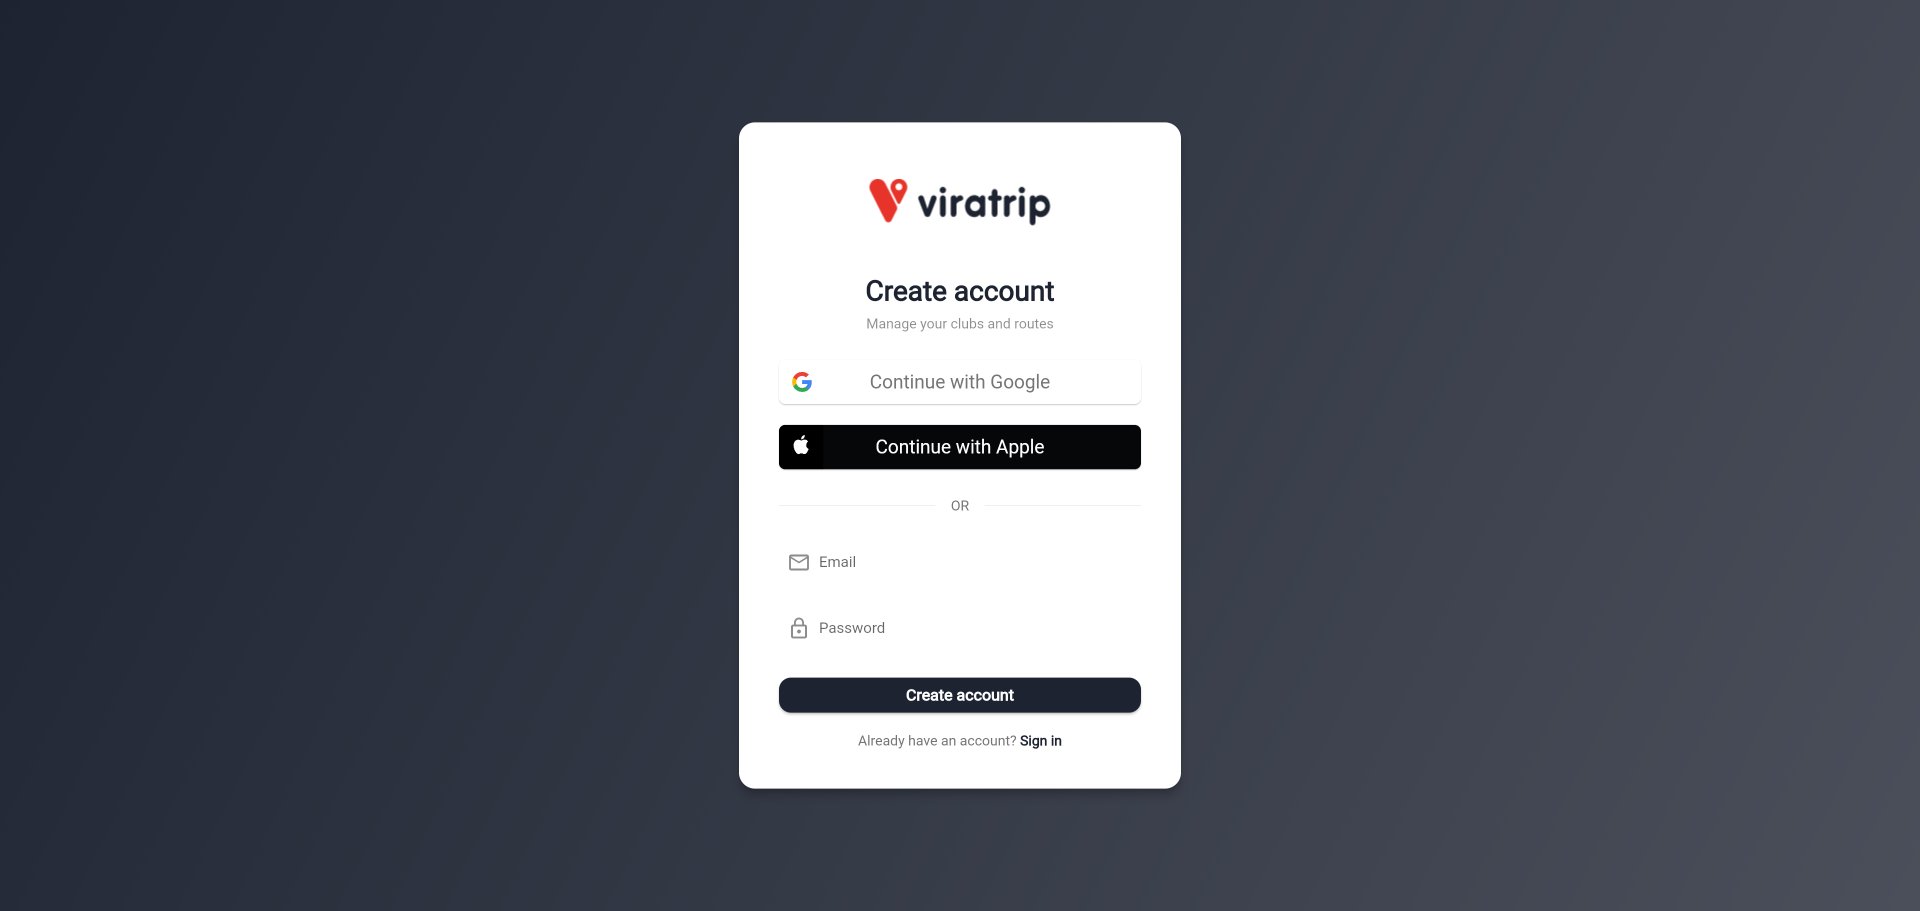
- On the home screen, tap Create account
- Choose your sign-up method:
- Email and password: enter your email address and a password
- Google: sign in with your Google account
- Apple: sign in with your Apple ID
Password requirements
If you choose email sign-up, your password must contain:
- At least 8 characters
- At least 1 letter
- At least 1 digit
- At least 1 special character
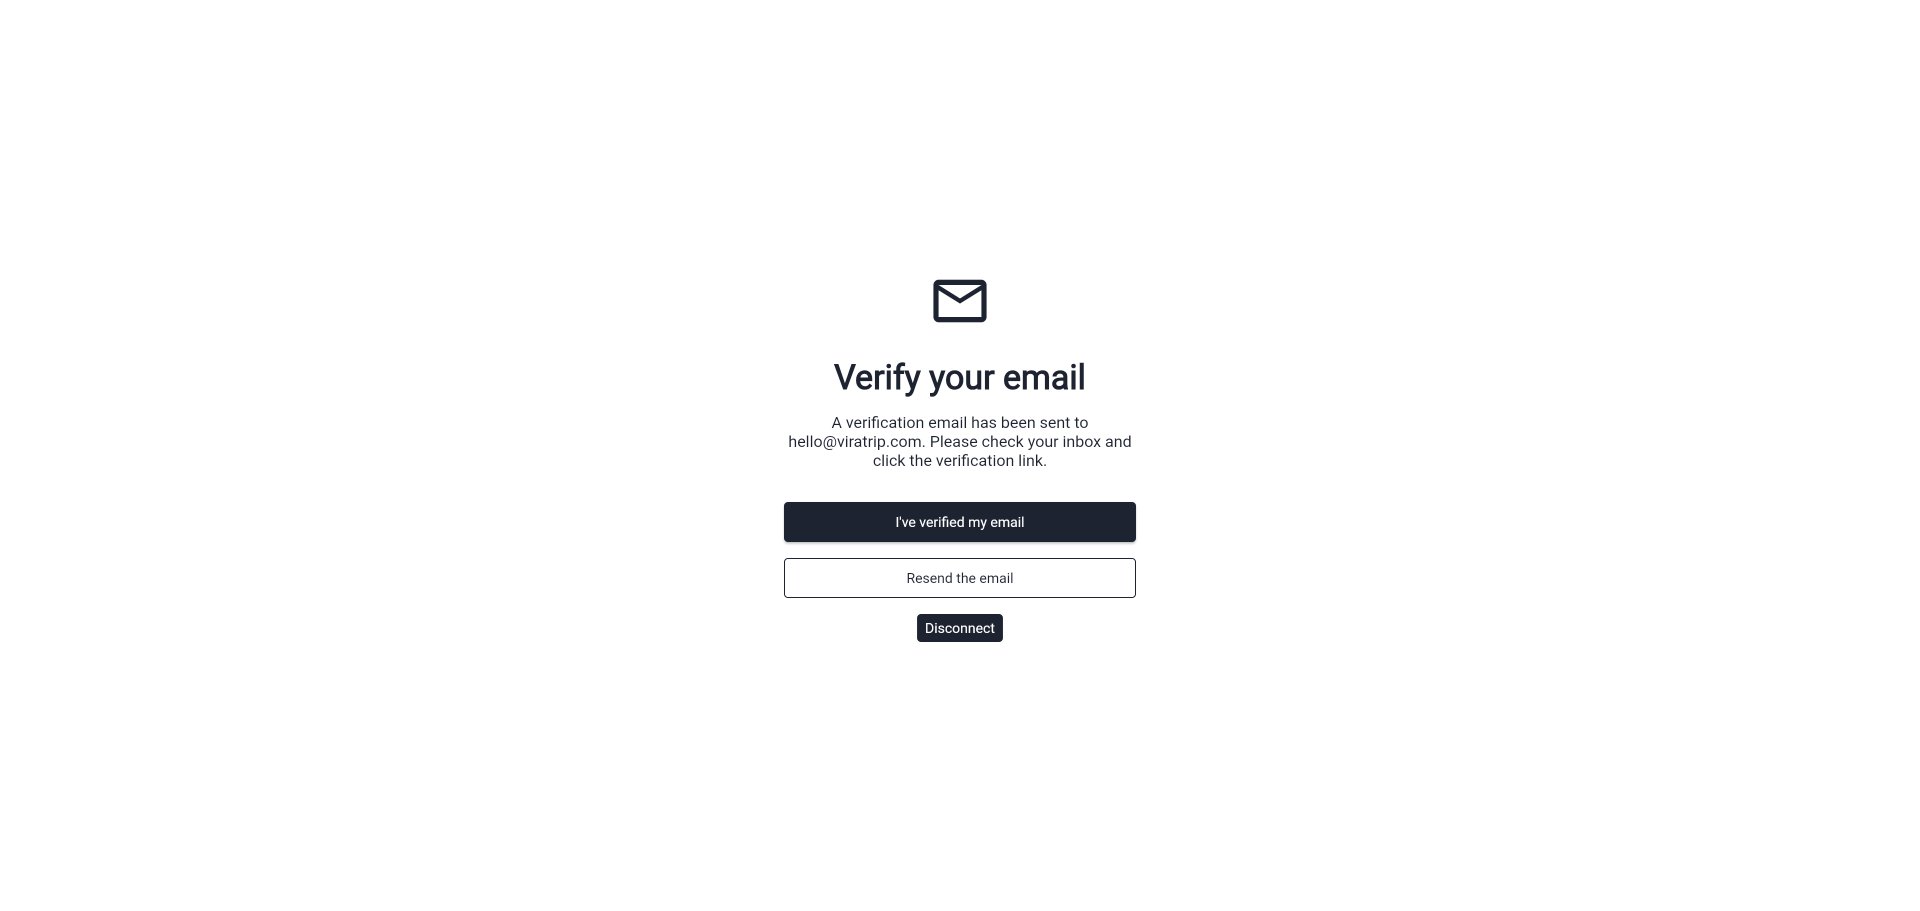
Email verification
After signing up, a verification email is sent to you. Click the link in the email, then return to the app and tap I’ve verified my email.
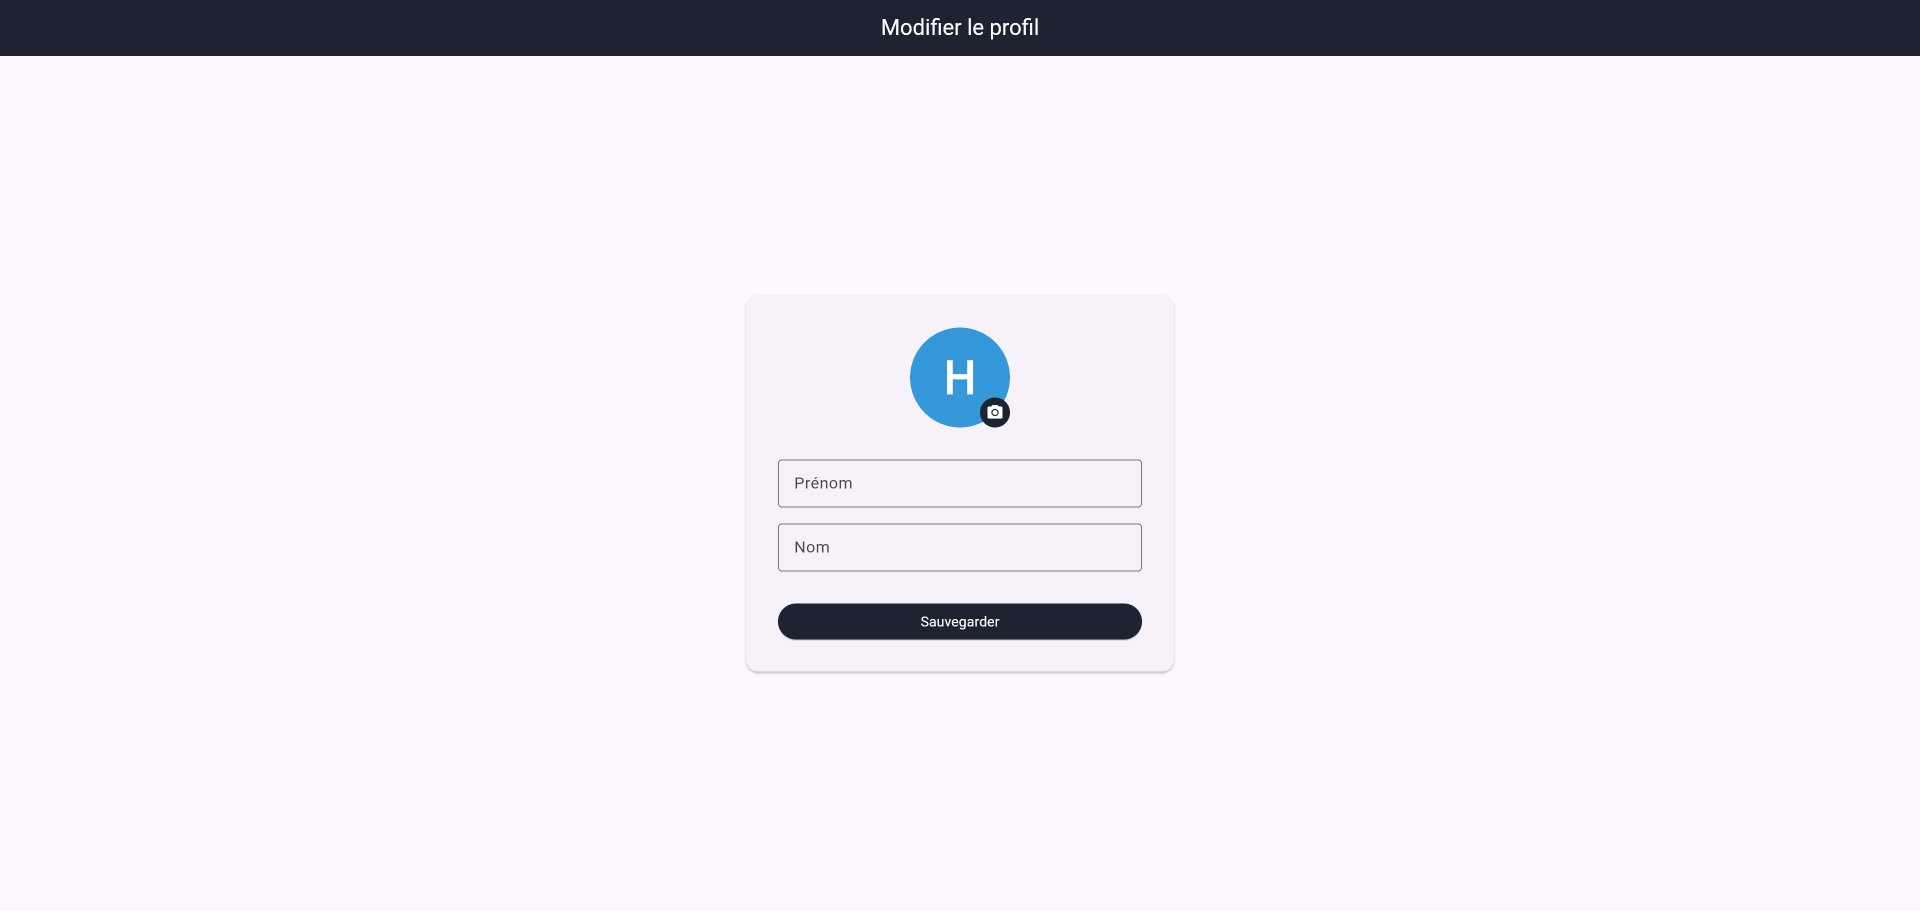
Complete your profile
The app then invites you to complete your profile:
- Enter your first name and last name
- Add a profile photo (optional but recommended)
- Tap Save
2. Create your club
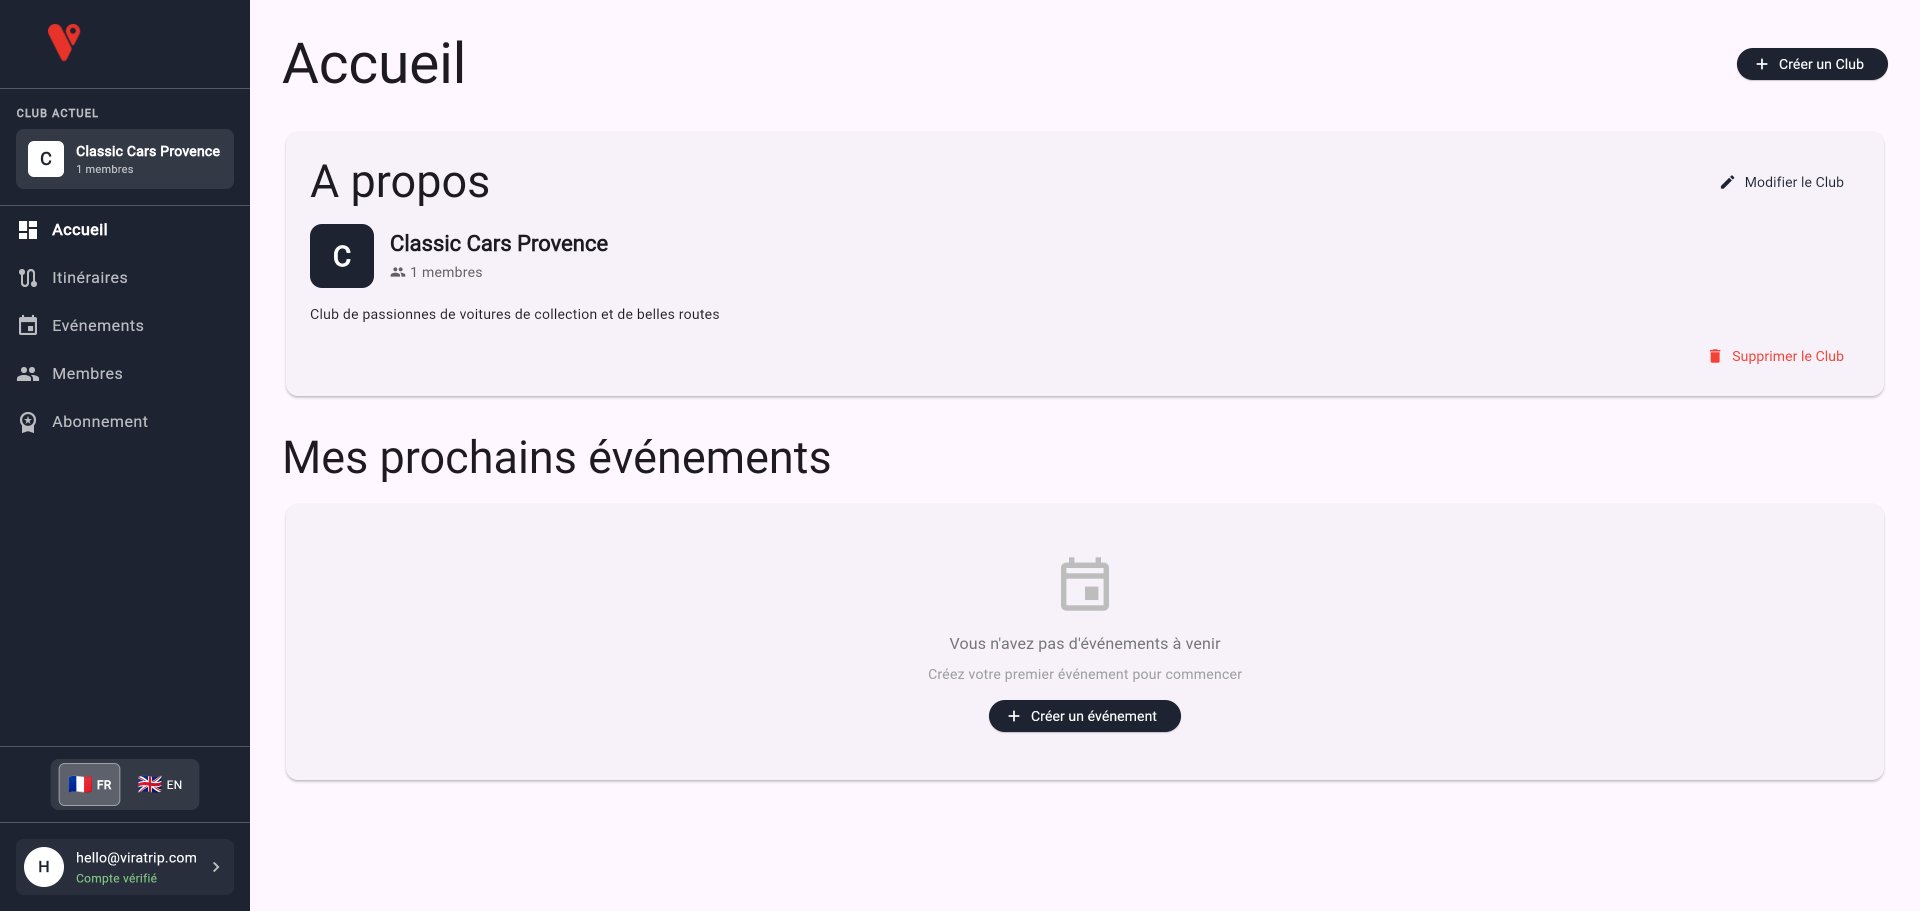
Access club creation
Once logged in, you arrive on the home page. If you don’t have a club yet, the app will directly prompt you to create one.

- Tap + Create a Club
Fill in club information
| Field | Required | Description |
|---|---|---|
| Club name | Yes | Your club’s name as it will appear in the app |
| Description | Yes | Describe your club in a few lines (vehicle types, region, vibe…) |
| Logo | No | Square image representing your club (100x100 px recommended) |
| Location | No | Main city or region of your club |
| Website | No | Your club’s website URL (if any) |
Choose privacy mode
Choose the mode that best fits your club:
| Mode | Visibility | Membership |
|---|---|---|
| Private | Club does not appear in search | Only admins can invite members |
| Protected | Club is visible in search | Users can request to join (approval required) |
| Public | Club is visible in search | Anyone can join freely |
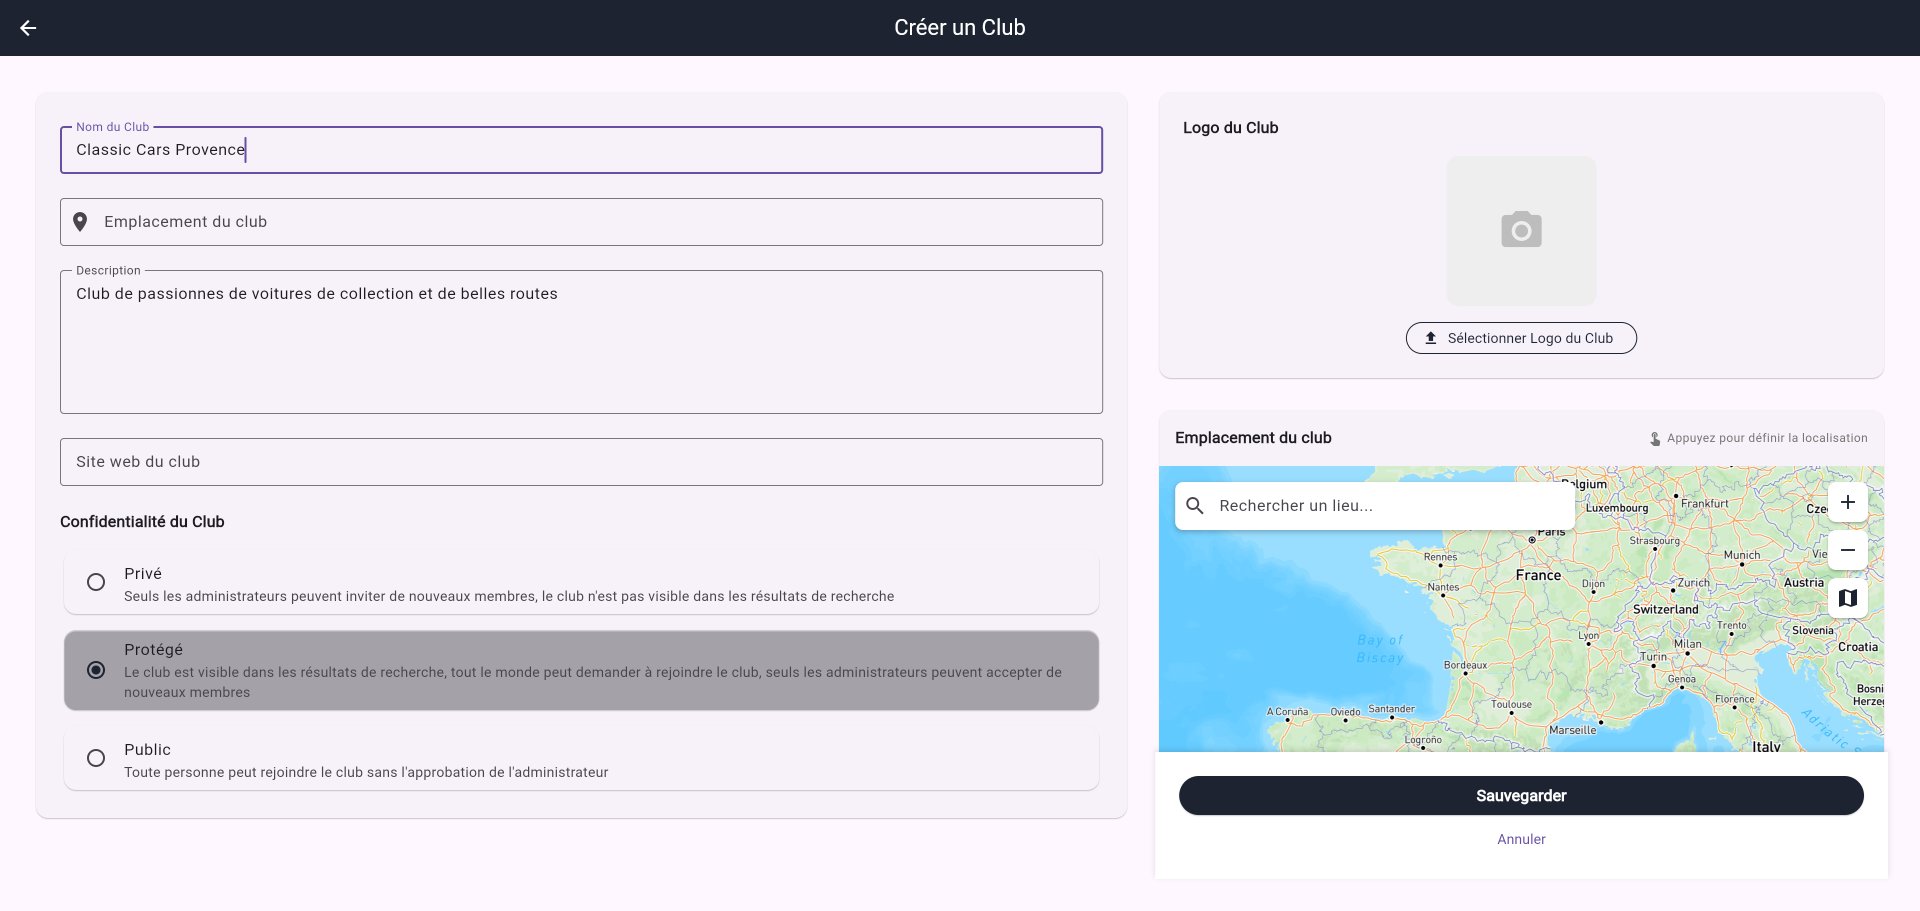
Tap Save to create your club. Congratulations, you are now a club president!
3. Create your first route
A route (called “highlight” in the app) is a path you can later associate with an event. Go to the Routes section in the menu.
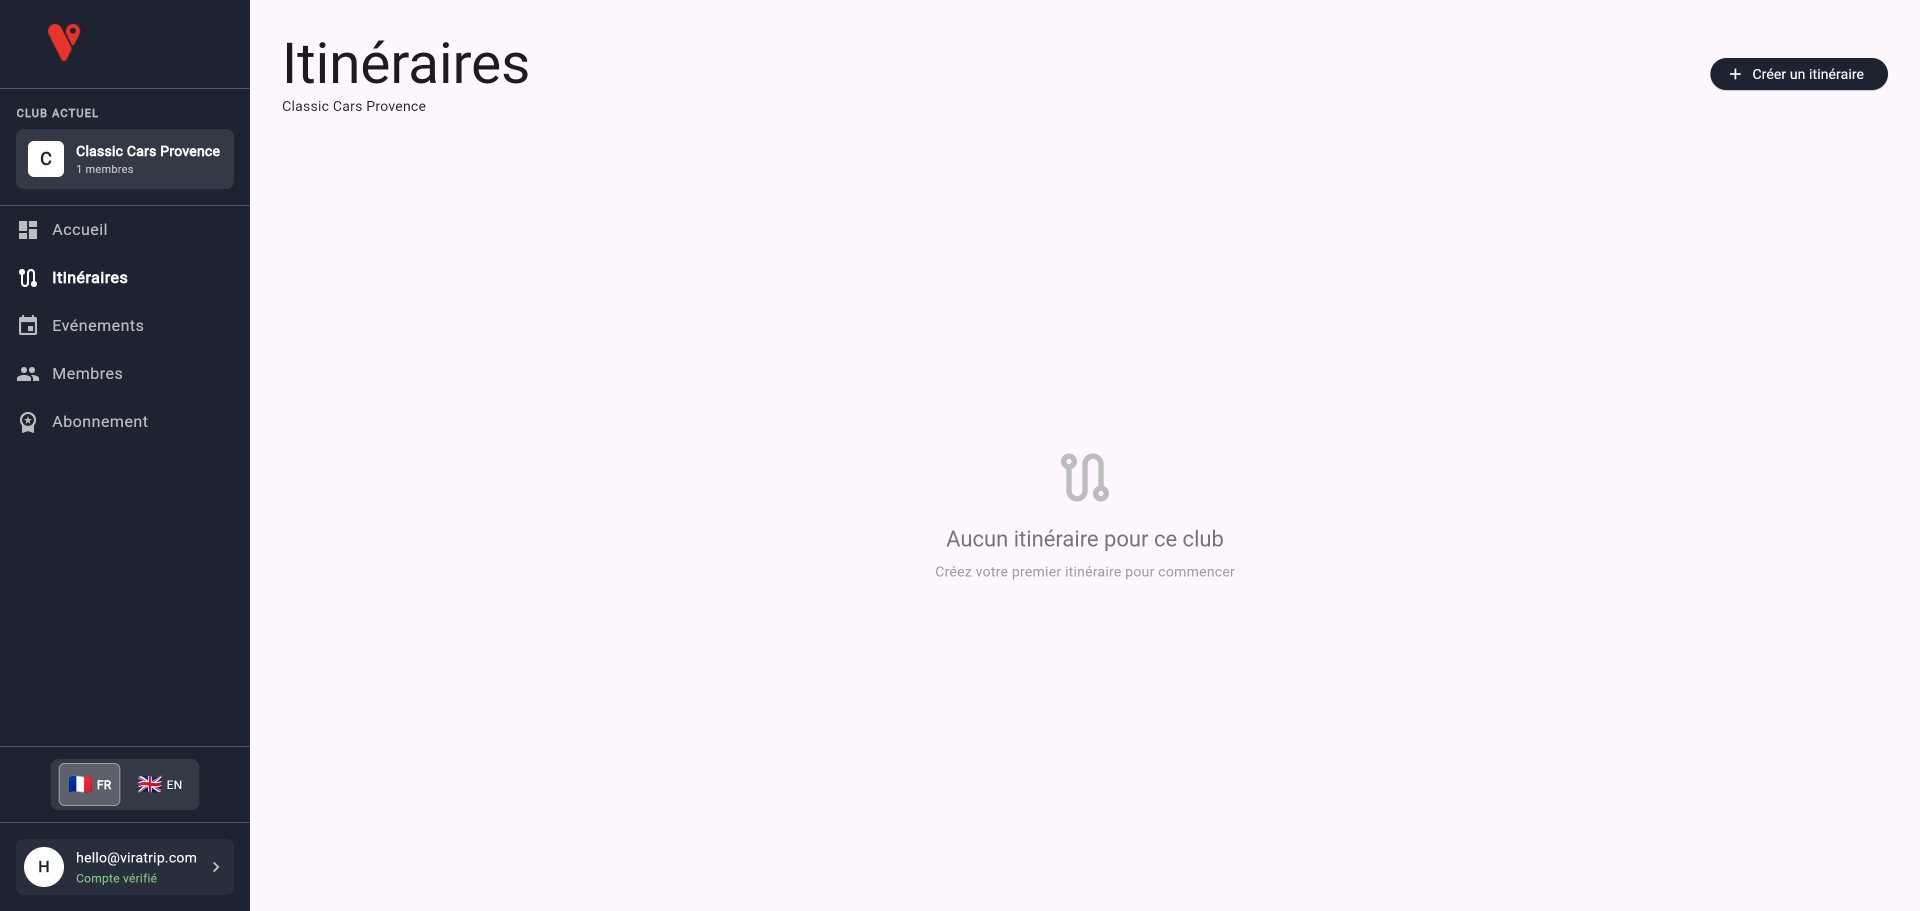
There are two methods to create a route:
Method A: Create from the map (recommended for beginners)
This is the simplest method if you already know the route.
Step 1: Trace the route
- Tap + Create a route
- On the interactive map, tap the waypoints in order
- The app automatically calculates the road between each point
- Estimated distance and duration are displayed in real time
- You can add, move, or delete waypoints
- Tap Next
Step 2: Route details
| Field | Required | Description |
|---|---|---|
| Route name | Yes | A meaningful name (e.g., “Alpilles Loop”, “Napoleon Road”) |
| Description | No | Details about the route, points of interest, difficulty… |
| Privacy | Yes | All club members, Administrators only |
| Tags | No | Keywords to categorize the route |
Method B: Import a GPX or KML file
If you have an existing trace file:
- Choose Import a file
- Select your GPX or KML file
- The app automatically extracts the waypoints
- Complete the route details
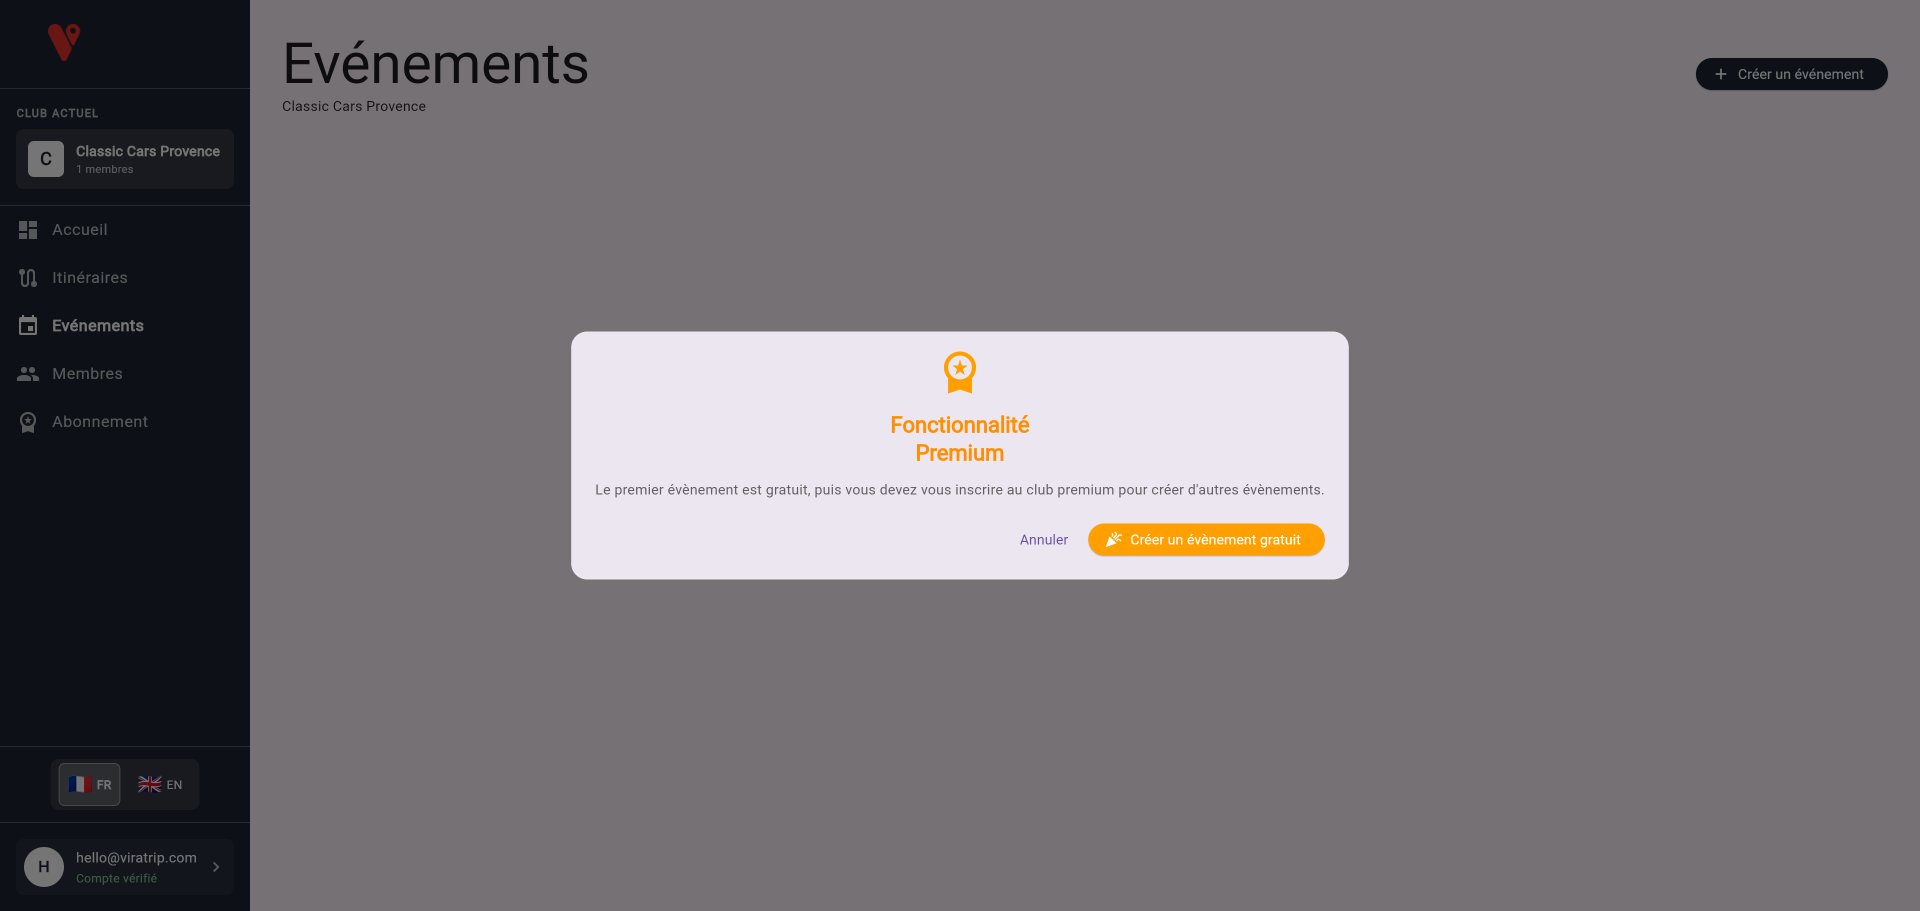
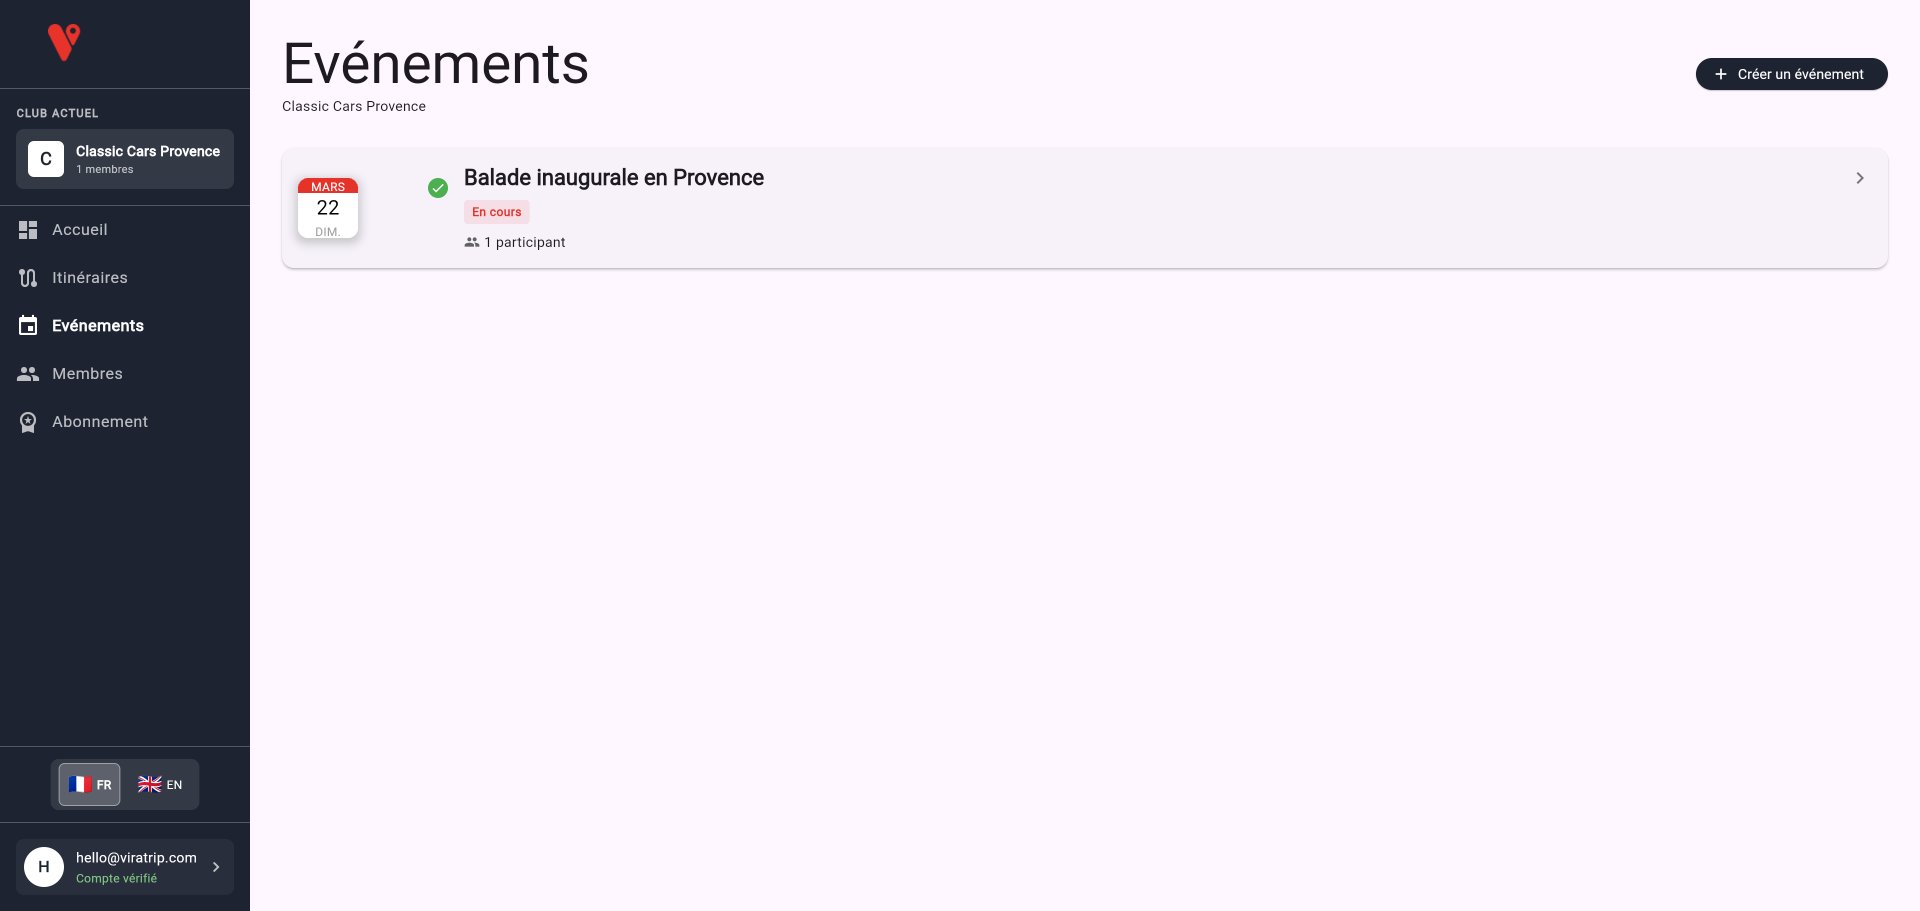
4. Create your first free event
Access event creation
From your club page or the Events menu, tap + Create an event.
For your first event, a popup informs you it’s a premium feature, but the first event is free.
Fill in the information
| Field | Required | Description |
|---|---|---|
| Event name | Yes | E.g., “Club inaugural ride”, “Sunday cruise” |
| Description | No | Schedule, instructions, required level… |
| Meeting point | No | Gathering location (address search) |
| Start date and time | Yes | Must be in the future |
| End date and time | No | Maximum duration: 8 days |
| Max participants | Yes | From 1 to 50 participants |

Choose privacy
| Mode | Description |
|---|---|
| Private event (enabled) | Only club members can participate |
| Public event (disabled) | Anyone with the event code/link can participate |
Add routes (optional)
- In the Routes section, tap + Add a route
- Select one or more routes from your club
- Add the planned start time for this route
- Participants will be able to follow these routes during the event with GPS navigation
Tap Save. The event is created!
5. Manage club members
Access member management
From the menu, click on Members. You’ll see the current member list and two tabs: Invitations and Pending.
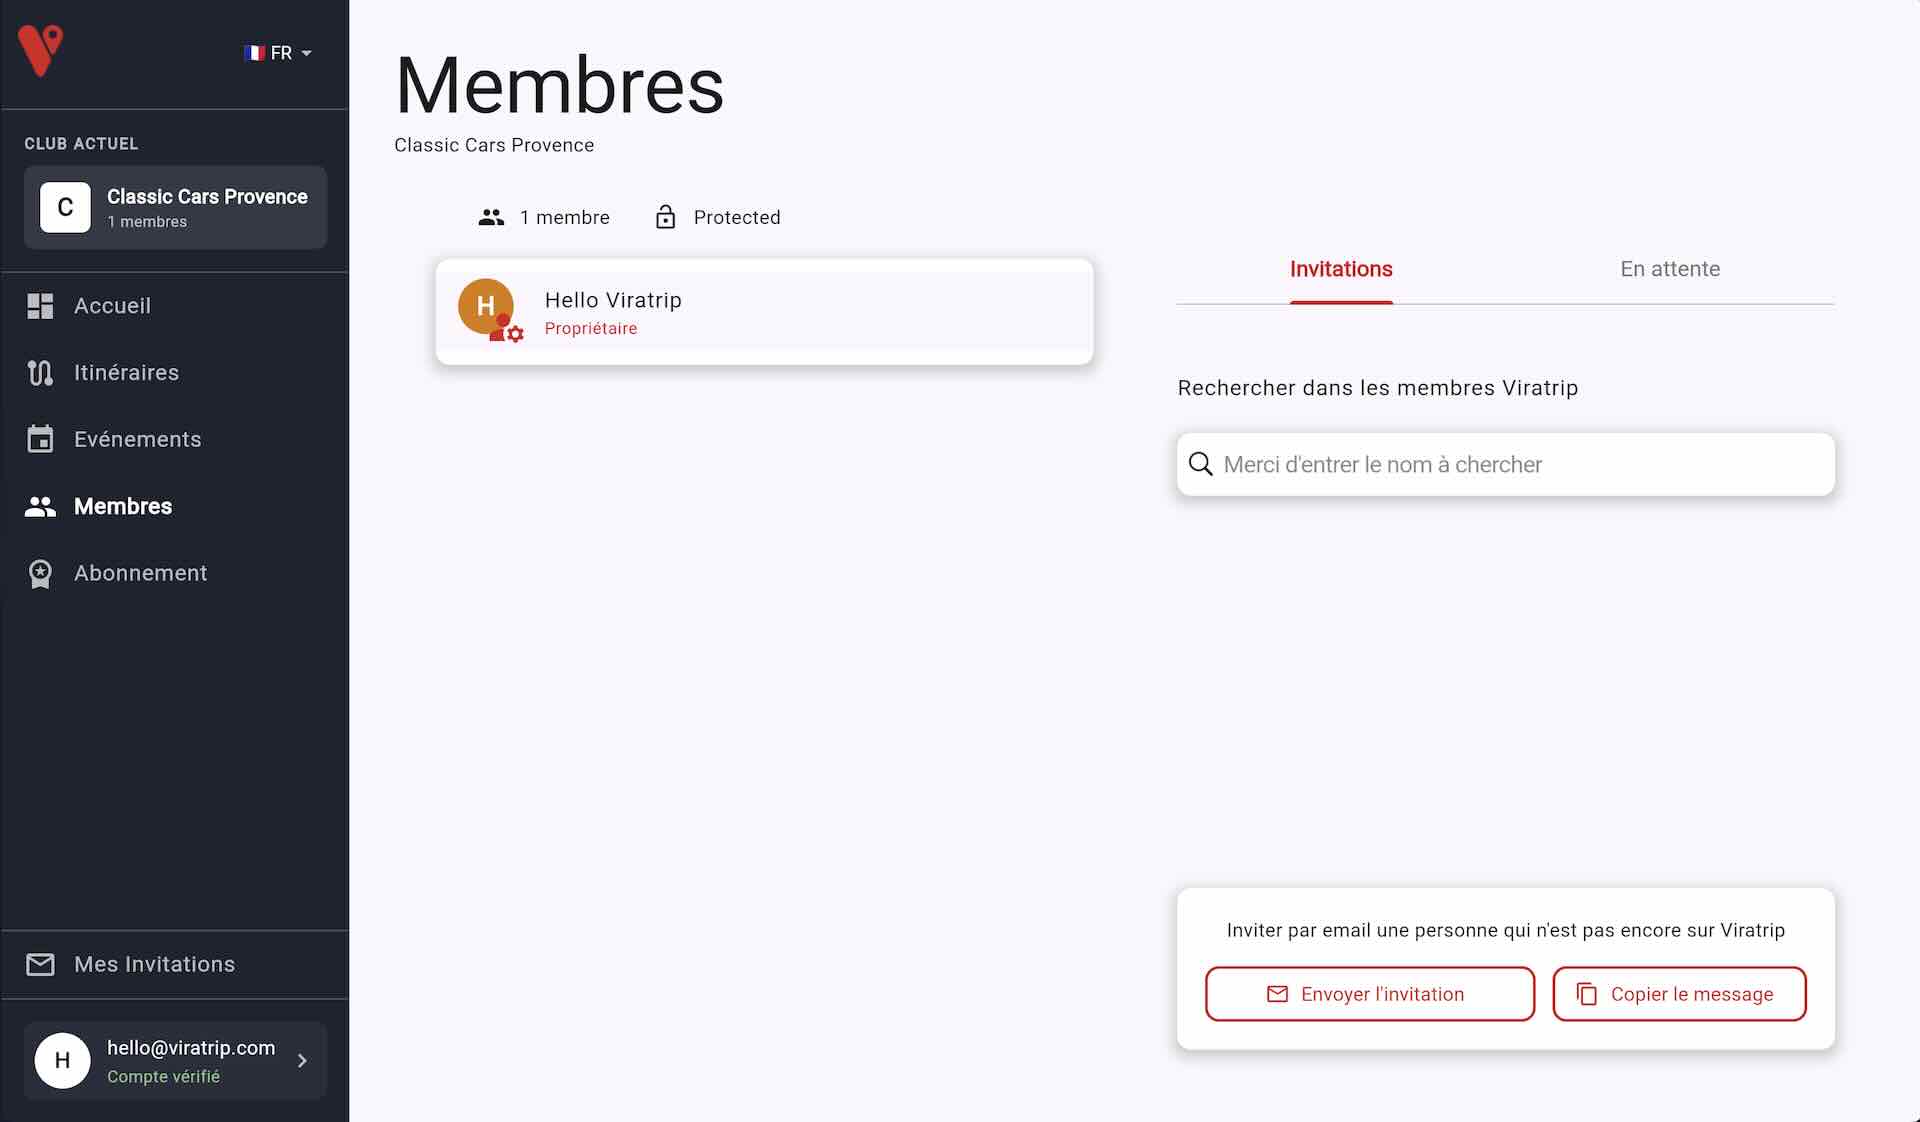
Invite members
To invite members to your club, they must have a Viratrip account. The easiest way is for them to download the Viratrip app on their phone and create an account.
Once your members have created their account, you can invite them to the club:
- Go to the Invitations tab
- Search for a Viratrip user by name
- Tap the Invite button next to their profile to send them an invitation to join the club
- The user receives a notification and can accept or decline via the mobile app
Handle membership requests
For clubs in Protected mode, users can search for and request to join the club:
- Go to the Pending tab
- For each request, you can:
- Accept: the user becomes a club member
- Decline: the request is removed
Member roles
| Role | Rights |
|---|---|
| Owner (you) | Full rights: manage club, members, routes, and events |
| Administrator | Manage members, routes, and events |
| Member | View content and participate in events |